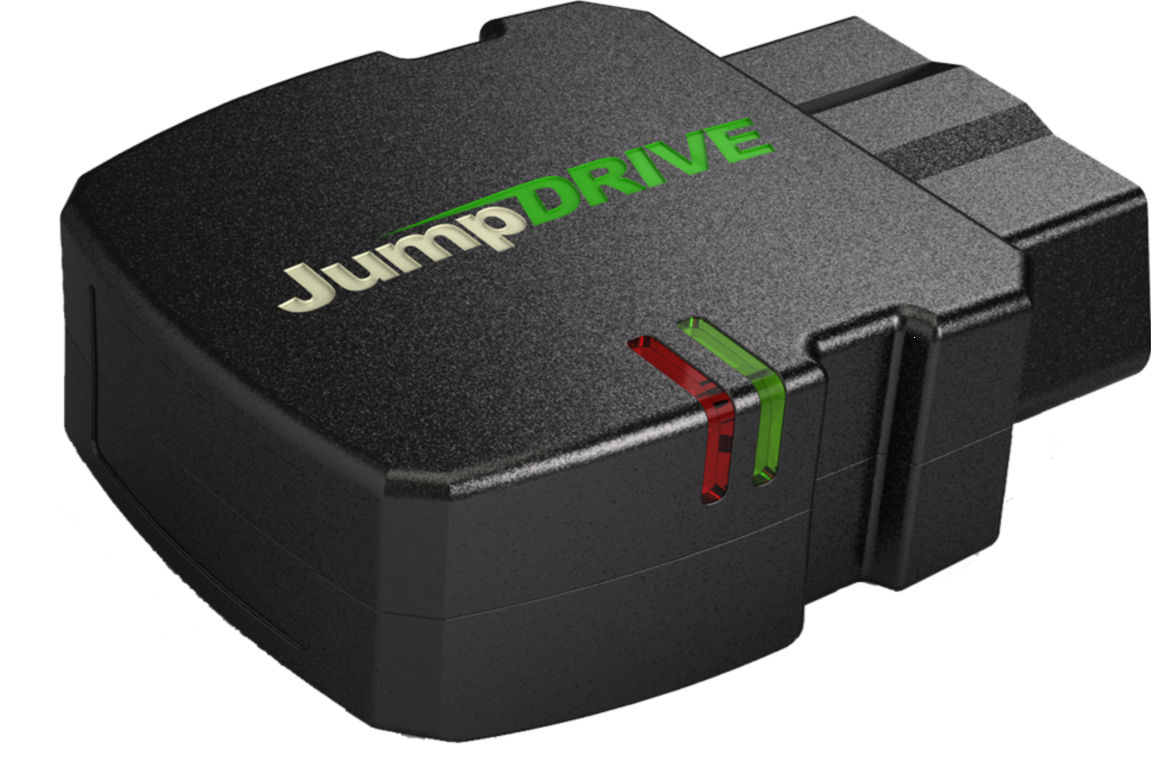
Vehicle Device Installation Guide
The Vehicle Device requires a vehicle manufactured for sale in North America in the year 2008 and onwards.
- Start the engine of the vehicle within 500 hundred feet of the Bridge. It is important to start the vehicle before installing the vehicle device, to ensure proper registration of the vehicle.
- Determine the location of the Onboard Diagnostics Port (OBD-II port) in the vehicle. It is usually below the steering wheel in the driver’s compartment and is within 2 feet of the steering wheel. If your OBD-II port is not there, look under the dash and behind ashtrays. Here are some web sites that might be helpful in locating your OBD-II port:
http://obdfinder.com/
http://obdclearinghouse.com/ - Plug the vehicle device into the OBD-II port. Apply pressure to ensure that the device has made a good connection.
- Once you see a red flashing light, wait 3 minutes with the vehicle running and the device installation will be complete. If you don’t see the red flashing light, unplug the Vehicle Device and replug it.
- Use the security tether with adhesive anchor to secure the device to the vehicle. Pick a flat and smooth surface nearby to attach the adhesive anchor to, while keeping the tether pulled tight enough, so it does not obstruct drivers.
- Note the Last 4 digits of the VIN, Fleet ID, Plate Number/State, Vehicle Color and Odometer. Often times this information will be on the vehicle’s key tag.
- Turn the engine off.
- Log onto JumpDrive.com with your supplied credentials. Go to Fleet -> Assign, and select the respective VIN in the dropdown. Enter corresponding Fleet ID, Plate Number/State, Vehicle Color and Odometer. Click Submit. The vehicle device has now been assigned to a specific vehicle.
- Before removing the Vehicle Device (to be reinstalled in a new vehicle), make sure the vehicle is turned off for 30 seconds. The Vehicle Device may malfunction if this procedure is not followed.
a. If the vehicle device is obstructive and touching your legs when you use the gas and brake pedals, plug an OBD-II extension cable into the OBD-II port and plug the other end of the cable into the vehicle device. Mount the vehicle device using double-sided adhesive tape to an area of the driver compartment where the vehicle device will not be obstructive.
If you have any questions, concerns, or suggestions, please contact us at support@jumpdrive.com or call 888 533 4890.
