A scheduled report is powerful tool to notify key members of your operation about vehicles and issues to address, like:
- Returned vehicles without fuel to valet staff each morning
- Vehicles approaching an odometer limit or time limit to the fleet manager each week
- Sending the total fuel charges to the accounting manager each month
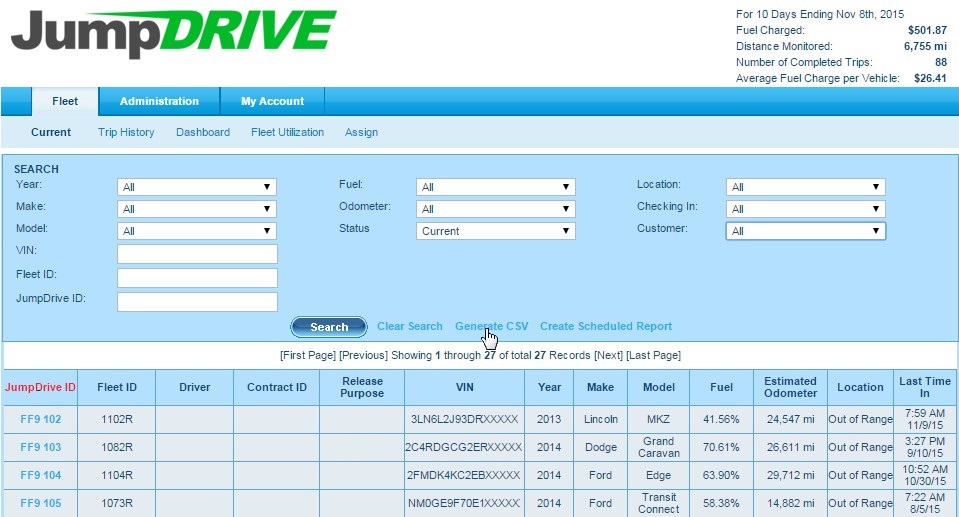
Step 1 – Click on the Fleet tab, and then the Current subtab.
Step 2 – Enter criteria to narrow your results (Note: it is not necessary to enter all search criteria)
You can use any criteria in the top search area, but most scheduled reports focus on the following criteria, select:
- Make
- Fuel
- Odometer
- Location
Step 3 – Click Search to see the results of your search criteria.
You can sort the columns of your search criteria results by mousing over the column heading (i.e. JumpDrive ID. Fleet ID, Driver, Contract ID. etc.) and clicking once for ascending order, click again for descending order.

Step 4 – Click Generate CSV to generate the report. Your CSV file will be generated according to the search criteria and column sorting you selected and automatically downloaded to your computer to be opened with your spreadsheet software.
If you have any questions, concerns, or suggestions, please contact us at support@jumpdrive.com or call 888 533 4890.